Sneaker Product Photography Guide
I used to photograph my sneakers with an iPhone 8, my bedroom floor as the backdrop, and a floor lamp pointed directly at the shoe. My $350 Jordan 4s looked like $50 Payless specials. Buyers scrolled past. The pairs that sold took two weeks longer than they should have, and I had to drop prices $15–$20 below market to move them.
Then I spent a weekend learning actual product photography — not the professional studio kind, but the "I need this to sell on eBay in 3 days" kind. My sell-through time dropped by half. I stopped getting messages asking for "more pictures." And I could price at or above market because my listings looked more trustworthy than the competition.
Better photos don't just make your listing look nicer. They reduce perceived risk for the buyer. When someone can see every stitch, every angle, every detail, they trust that you're not hiding anything. Trust = faster sales at higher prices. Here's exactly how to do it.
The Minimum Viable Setup: $50 or Less
You don't need a studio. You need three things done right: light, background, and angles. Everything else is bonus.
| Equipment | Budget Option | Cost | Upgrade Option |
|---|---|---|---|
| Camera | Your smartphone (iPhone 12+ or equivalent) | $0 | DSLR with 50mm f/1.8 lens ($400 used) |
| Lighting | Window light + white foam board ($5) | $5 | 2× softbox LED lights ($60/pair) |
| Background | White poster board taped to wall ($3) | $3 | Seamless white paper roll ($25) |
| Surface | White desk/table + white paper underneath | $0 | White acrylic sheet for reflection ($15) |
| Tripod | Stack of books | $0 | Phone tripod with remote ($20) |
| Editing | Phone built-in editor or Snapseed (free) | $0 | Adobe Lightroom ($9.99/mo) |
Total budget setup: under $10. No excuses. If you're selling $200 shoes, you can afford $10 worth of foam board and poster paper. The ROI on that $10 investment is thousands in faster sales and higher prices.
Lighting: The One Thing That Makes or Breaks Your Photos
Great lighting makes a $100 pair look like $300. Bad lighting makes a $500 pair look like a garage sale find. Here's the lighting setup I use that costs $0 if you have a window:
Step 1: Find your window. A large window with indirect natural light is ideal. Direct sunlight creates harsh shadows. If the sun is blasting through, hang a white bedsheet over the window to diffuse it. Cloudy days are actually better for product photography than sunny ones — the clouds act as nature's softbox.
Step 2: Position your foam board reflector. Place the shoe near the window so the light hits it from one side. Prop a white foam board on the opposite side, angled toward the shoe. This bounces light back onto the shadow side, filling in dark areas without a second light source.
Step 3: Kill ambient light. Turn off room lights. Mixed light sources (window light + ceiling bulbs) create weird color casts. Unless your room lights are daylight-balanced (5000K–5500K), which they almost certainly aren't, use window light alone.
Step 4: Check for hotspots. Shiny materials like patent leather, 3M reflective, and glossy midsoles catch light. If you see a blown-out white spot in your photo, move the shoe slightly or adjust the reflector angle until the reflection is even. A tiny hotspot can hide a scuff or scratch — and buyers will assume you're hiding it on purpose.
If you want to graduate from window light: Neewer 2-pack LED softbox kit on Amazon, ~$60. Place one at 45° to the left, one at 45° to the right, both slightly above the shoe. This creates even, shadow-free lighting that looks professional. Set white balance to 5500K in your camera settings, and you'll never deal with yellow/orange color casts again.
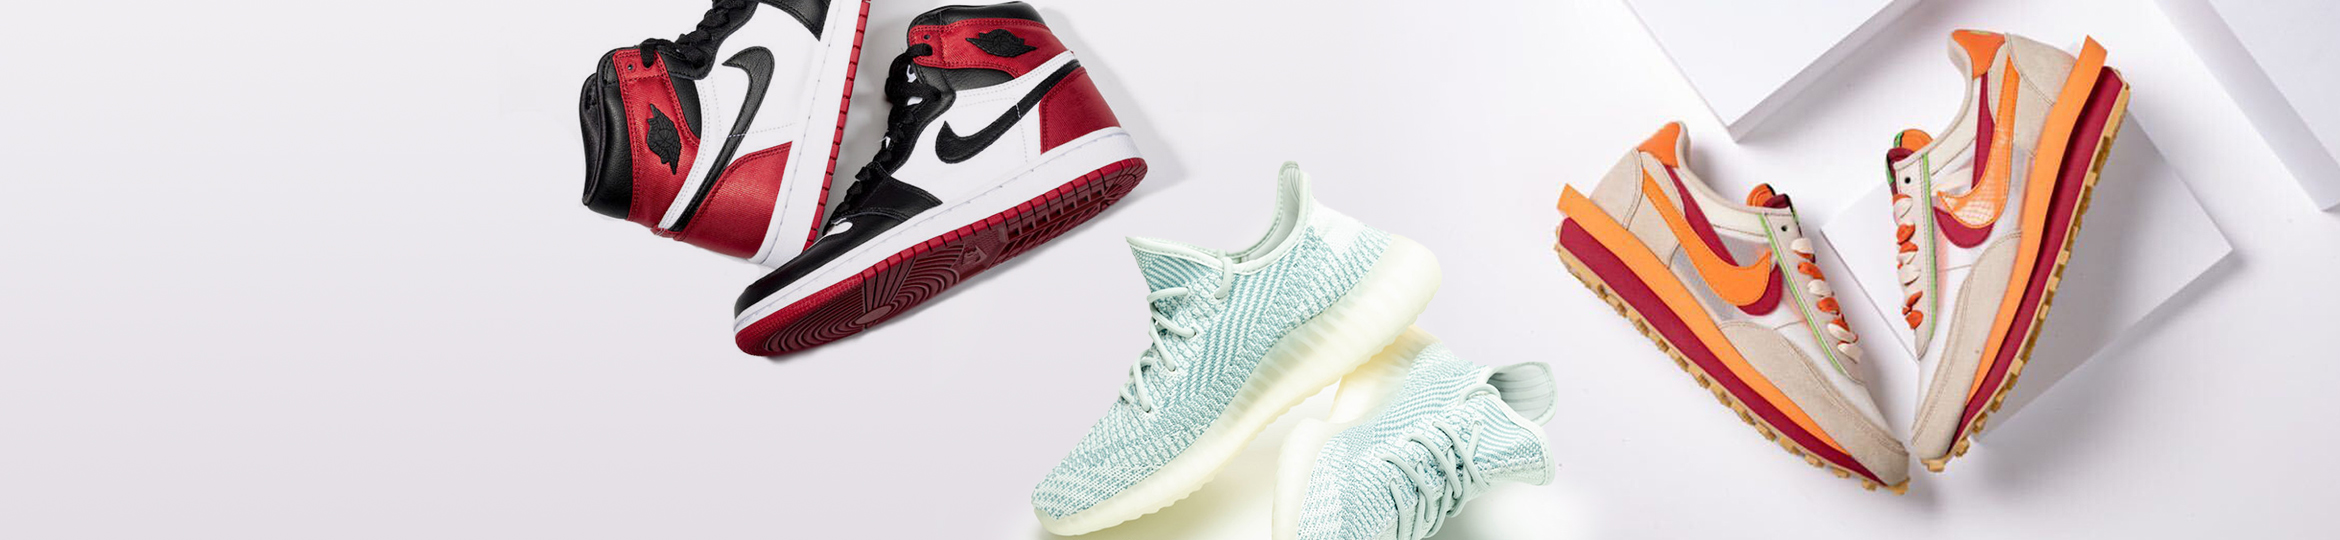
The 8 Essential Angles: What Buyers Actually Need to See
You don't need 20 photos. You need the right 8 photos. Here's the checklist I shoot for every pair, regardless of platform:
| # | Angle | What It Shows | Buyer Concern Addressed |
|---|---|---|---|
| 1 | Lateral (side profile) | Overall shape, colorway, silhouette | "Is this the right model?" |
| 2 | Medial (inner side) | Inner side details, swoosh placement | "Any hidden flaws?" |
| 3 | Toe box (front) | Toe shape, creasing, scuffs | "Are they worn/creased?" |
| 4 | Heel (back) | Heel drag, collar wear, stitching | "Any heel damage?" |
| 5 | Outsole (bottom) | Tread wear, dirt, legitimacy check | "Are these really deadstock?" |
| 6 | Size tag (inside tongue) | Size, production date, SKU, factory code | "Is this authentic?" |
| 7 | Box label | SKU, size, color code matching the shoe | "Is the box legit / matching?" |
| 8 | Overhead (both shoes together) | Pair symmetry, overall condition | "Do they look like a matched pair?" |
Bonus shots for used pairs: Close-ups of any flaws. Creasing on the toebox, scuffs on the heel, sole wear, insole logo fading. Be obsessive about documenting condition. Buyers who see every flaw before purchase don't file "item not as described" claims after delivery. A close-up of a scuff protects you more than it hurts your sale price.
Phone vs DSLR: What Actually Matters
I've shot and sold shoes with both. Here's the honest breakdown:
| Factor | Smartphone (iPhone 12+ / Galaxy S21+) | DSLR / Mirrorless |
|---|---|---|
| Image quality for eBay | ✅ Excellent (4K/12MP+) | ✅ Excellent (20MP+) |
| Detail capture | ⚠️ Good, but struggles in low light | ✅ Superior texture and stitch detail |
| Speed | ✅ Fastest — shoot, edit, upload from device | ⚠️ Slower — transfer, edit on computer |
| Background blur (bokeh) | ⚠️ Artificial (portrait mode), can look fake | ✅ Natural and pleasing |
| Necessary for good results? | No — phone is plenty | Only if shooting 20+ pairs/day |
Bottom line: use your phone. A modern smartphone with good lighting will produce photos that are 90% as good as a DSLR for the purpose of selling sneakers online. The difference between bad phone photos and good phone photos is lighting and technique — not hardware. Only invest in a camera when you're consistently shooting 20+ pairs a week and the transfer/edit workflow becomes a bottleneck that a tethered DSLR would solve.
Phone Camera Settings for Sneaker Photos
- Use the 2× or 3× telephoto lens, not the wide-angle. Wide-angle distorts the shoe shape — makes toeboxes look bulbous and proportions weird.
- Disable HDR or set to "auto." Overly aggressive HDR on sneakers creates unnatural contrast that hides texture details.
- Shoot in 4:3 aspect ratio. Platforms crop differently — 4:3 gives you the most flexibility.
- Lock exposure and focus by tapping and holding on the shoe. This prevents the camera from refocusing mid-shot.
- If your phone has a "pro" or "manual" mode: set ISO to 100–200, shutter speed to 1/60 or faster. This minimizes noise and motion blur.
The 5-Minute Edit: What to Adjust and What to Leave Alone
Over-editing is worse than no editing. A shoe photo that looks like it went through 12 Instagram filters screams "I'm hiding something." Here's the editing workflow that takes 5 minutes on any phone:
1. Straighten the horizon. If the table edge or background line is tilted, the shoe looks like it's sliding off frame. This takes 3 seconds in any editing app and immediately makes the photo look intentional.
2. Crop to fill the frame. The shoe should occupy 70–80% of the image. Too much empty space, and the buyer has to squint. Too tight, and it feels claustrophobic. eBay zooms in slightly on thumbnails — leave a small margin around the edges.
3. Boost brightness (+10 to +20). Most phone photos come out slightly darker than the scene actually was. A small brightness bump makes the shoe pop without looking artificial.
4. Increase contrast slightly (+5 to +10). This separates the shoe from the background and makes stitching and material textures more visible.
5. Set white balance (if your app supports it). Aim for a neutral white — not warm (yellowish) and not cool (bluish). If your background is white poster board, use the white balance eyedropper on the background. Your shoe colors should match reality.
6. Do NOT increase saturation. Over-saturated colors make shoes look fake — literally counterfeit. If a buyer sees a "Chicago" Jordan 1 that's been pushed to neon red, their scam radar goes off. Let the shoe's actual colors speak for themselves.
Backgrounds: White, Gray, or Lifestyle?
| Background Type | Best For | Avoid If |
|---|---|---|
| Pure white (poster board) | StockX/GOAT eBay listings. Clean, professional, shows all details | Shoe is white or very light-colored (blends in) |
| Light gray | White/light-colored shoes. More forgiving on exposure | Dark shoes (looks muddy) |
| Wood/concrete (lifestyle) | Instagram, social media promotion, "vibe" shots | Primary listing photos (distracting, inconsistent) |
| In-hand / on-foot | Used pairs, proving you actually own them | Main thumbnail (too casual, doesn't sell) |
My rule: white background for the main 8 product shots, 1–2 lifestyle shots at the end of the gallery. The main photos show the shoe clearly. The lifestyle shot at the end makes the listing feel personal — like you're a real person selling their collection, not a dropshipper with 200 pairs of the same shoe.
Common Photography Mistakes That Kill Sales
❌ Using flash. Direct flash creates harsh reflections on leather, washes out texture, and casts a shadow directly behind the shoe that looks like a crime scene photo. Never use flash. If you need more light, move closer to the window or buy a $5 foam board reflector.
❌ Photographing on carpet, bedspread, or dirty floor. Even if the shoe looks great, the background screams amateur. Buyers subconsciously associate messy backgrounds with careless sellers. That same psychology extends to assumptions about how you'll package and ship their order.
❌ Only 3–4 photos. When I see a listing with 3 photos, I assume the seller is hiding something. Every. Single. Time. The cost of taking 8 photos instead of 3 is 2 extra minutes. The benefit is a buyer who feels fully informed and clicks "buy" instead of messaging you for more pictures.
❌ Holding the shoe in your hand for the main photo. Fine for an extra shot to show scale, terrible as the thumbnail. It covers part of the shoe, introduces skin tones that distract from the colorway, and looks unprofessional. Put the shoe down. Shoot it like a product.
❌ Mirror selfies as your only photos. On-foot shots are useful for used pairs. But if your entire gallery is mirror selfies with your bathroom in the background, serious buyers scroll past. They want to see the shoe, not your bathroom tile.
Batch Photography Workflow: 10 Pairs in 30 Minutes
When you have a stack of inventory, efficiency matters. Here's my batch system:
- Set up once. Don't break down your photo station between pairs. Keep the lights, background, and reflector in position. One setup for the entire batch.
- Prep all shoes first. Unbox everything, remove tissue paper, stuff the toeboxes if they're collapsed from shipping. Line them up. This prevents the "unbox, shoot, rebox" time waste.
- Shoot all pairs in sequence. Same 8 angles, same order, every shoe. Muscle memory makes this fast. I can shoot a pair in 90 seconds once I'm in rhythm.
- Rename files as you go. If you're using a phone, take a photo of a sticky note with the shoe name + size before each pair's sequence. This creates a visual divider in your camera roll so you don't mix up similar pairs.
- Batch edit. Apply the same brightness/contrast adjustments to similar lighting conditions. Don't edit each pair individually unless the lighting changed.
Related Reading
- How to Price Sneakers for Resale — pair your great photos with the right price
- Social Media Sneaker Selling Strategies — use your photos to build an audience
- Sneaker Reselling Profit Calculator
Frequently Asked Questions
Should I use stock photos or my own photos on eBay?
Absolutely use your own photos. Stock photos tell buyers "I don't actually have this shoe in hand — I'm dropshipping or selling a pre-order." This triggers skepticism and "item not as described" disputes when the actual shoe has even minor differences from the stock image. Your own photos prove you possess the physical pair. For deadstock shoes, include one stock photo as the last image for color reference — but 7 of your 8 shots should be your own.
Do I need to photograph the shoebox separately?
Yes — include the box label as one of your 8 essential shots. A missing box label photo makes buyers suspicious about authenticity. Also photograph any box damage. If the box has a crushed corner or a tear, show it. Buyers who collect for "deadstock with box" care deeply about box condition. A surprised buyer who receives a damaged box will request a partial refund. A buyer who saw the damage in the listing photo won't.
How do I photograph all-black shoes without losing detail?
All-black sneakers are the hardest to photograph because they absorb light. The fix: slightly overexpose (+0.3 to +0.7 EV in your camera app), use a white background to create contrast, and position your reflector to bounce light directly onto the dark areas. Do NOT increase exposure in editing — the sensor didn't capture the detail, so brightening in post just creates gray noise. Get the exposure right in-camera, and the texture will show.
Can I use the same photos across StockX, GOAT, and eBay?
StockX doesn't use seller photos — they list by SKU and show stock images. GOAT requires your own photos for used pairs but uses stock images for deadstock. eBay is where your photos matter most. So yes, any photos you take can be used across platforms where seller photos are accepted. But watermark them — there are resellers who will steal your photos and use them on their own listings.
What's the minimum photo quality that still converts?
Good lighting + white background + 8 angles = that's the floor. You can shoot this with a $200 Android phone from 2019. The difference between "good enough" and "great" is mostly lighting consistency and whether you photographed the size tag. If your photos are well-lit, properly framed, and show every angle including the size tag, you're already in the top 30% of eBay sneaker listings. Most sellers shoot 3 dark photos on a carpet. Be better than that, and you win by default.
Last updated: July 2026.
